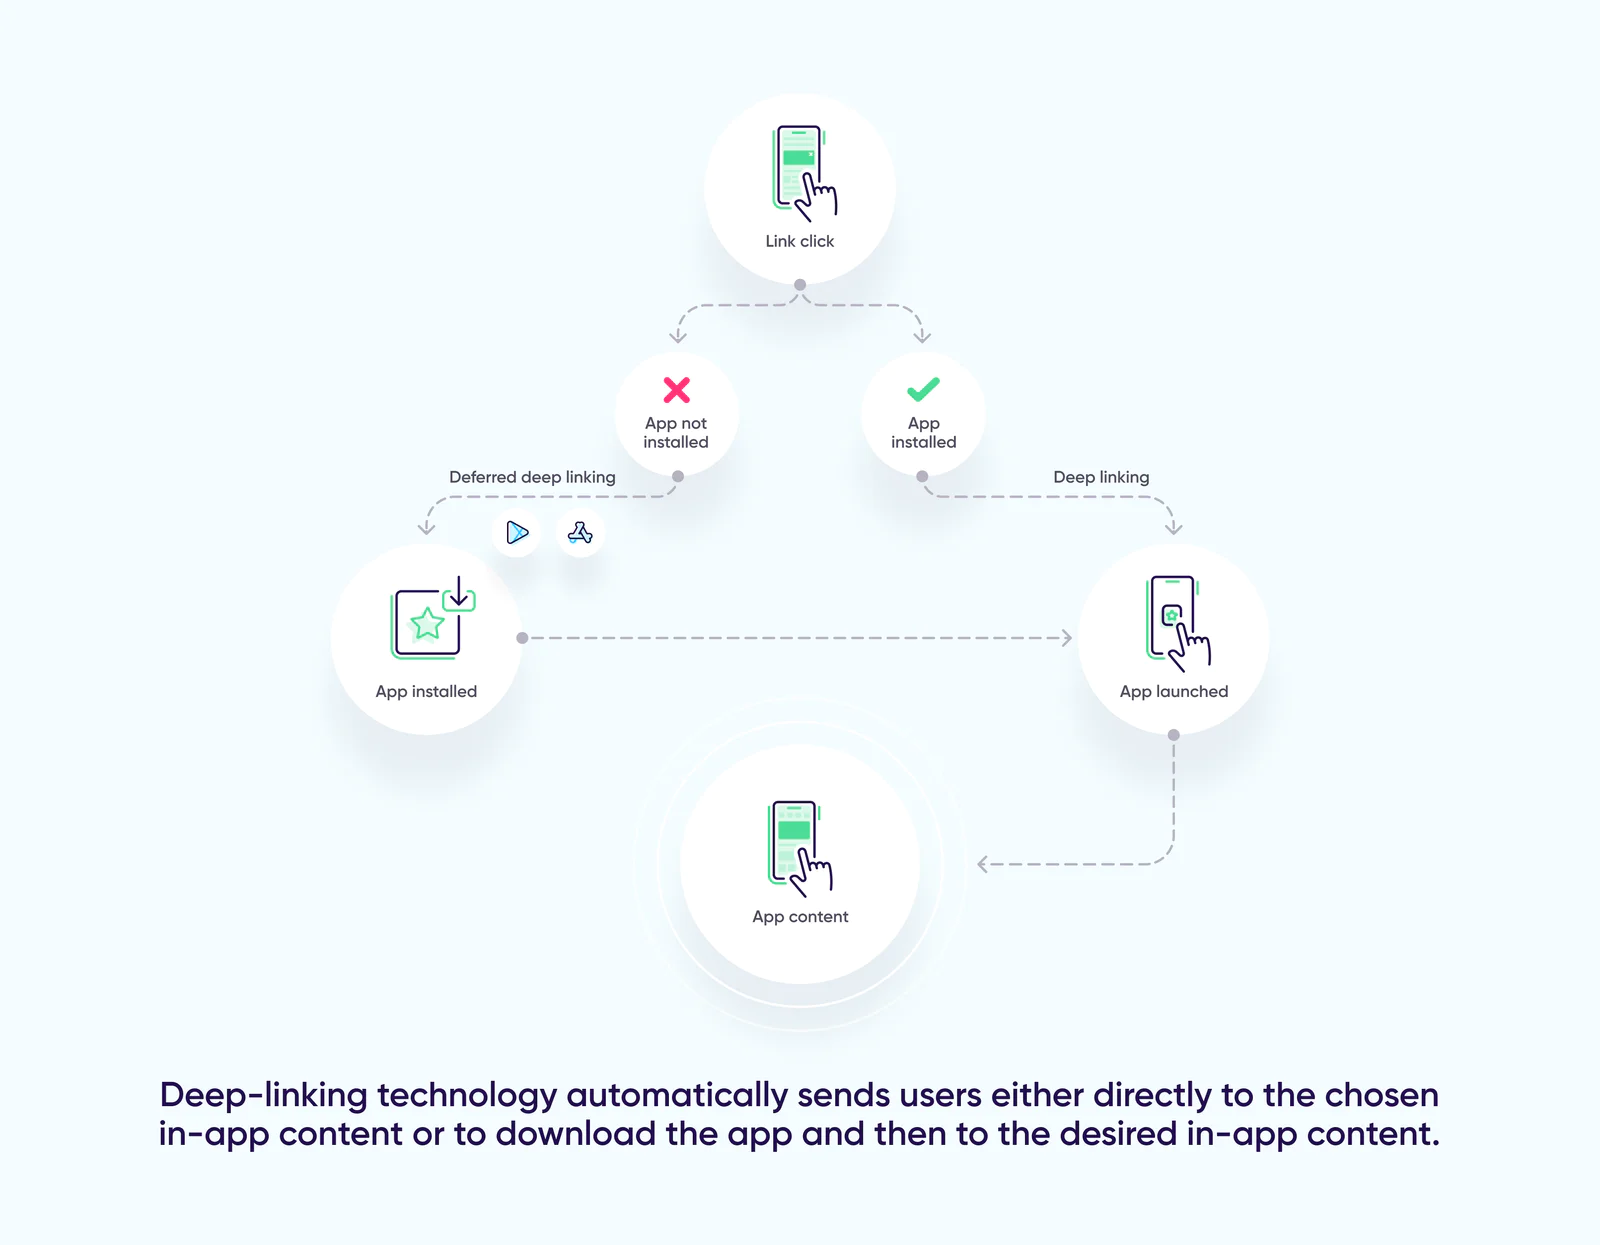
Let’s take the web-to-app experience as an example and dive into how to set it up with Segment and AppsFlyer.
Web-to-app: Convert web visitors into loyal app users
Web-to-app experiences boost UA and engagement with frictionless digital journeys from mobile websites to in-app content. These journeys begin on the website itself or from campaigns that lead to the website. Smart Banners and Smart Scripts dynamically generate links behind banners, web copy, CTAs, badges, and more, to effectively drive and measure traffic to your app. They capture mid-funnel, high-intent users arriving at your site, giving you the opportunity to educate and progress them to your app.
Here’s how to set up the web-to-app experience:
Step 1: Let’s start with connecting Segment and AppsFlyer by following the steps below. For more detailed instructions, take a look at this article.
Before you begin, make sure AppsFlyer supports the source type and connection mode you’ve chosen to implement. You can learn more about connection modes here.
From the Segment web app, click ‘Catalog’.
Search for “AppsFlyer” in the Catalog, select it, and choose which of your sources to connect the destination to.
In the destination settings, enter your AppsFlyer Dev Key, which can be retrieved from the ‘App Settings’ section of your AppsFlyer account.
Follow the instructions in the GitHub repositories: iOS SDK and Android SDK.
After you build and release to the app store, Segment will start translating and sending your data to AppsFlyer automatically.
In this example, we will outline the setup process for a Smart Banner.
Before we dive into designing and defining the Smart Banner’s appearance and behavior we’ll need to create a website workplace.
During your onboarding wizard you’ll create your first website, banner group, and banner. Learn More
Step 2: Next, navigate to the “Web-to-app” page within the AppsFlyer dashboard (under “Experiences & Deep linking”) and choose either the “Smart Banner” or “Smart Script” option.
 Made by AppsFlyer


