Recipes
StartupMobileMarketplaceMediaB2BRetailAny Industry

Build a Hyper-Personalized Contact Center with Twilio Engage and Twilio Flex

In this recipe, we’ll walk through integrating Segment’s Profile API with Twilio Flex, and also provide you a template that you can further customize according to your business needs.

It’s no mystery that customer expectations are at an all-time high today and that companies that execute real-time personalization strategies delight customers, increase conversion rates, and build brand loyalty.   Still, delivering thoughtful, personalized experiences in real-time remains a dream for most companies. It’s a difficult concept to successfully execute and there aren’t (yet) a plethora of off-the-shelf solutions available to help.

This is especially true in the world of customer support. Many, if not most, consumers have likely experienced long wait times and lengthy back-and-forth making sure support agents have the right information to help. It’s frustrating for customers and agents alike. With Twilio Flex and Twilio Engage (formerly Segment Personas), you have all the building blocks you need to implement a next-generation, hyper-personalized contact Center. Agents can instantly view a customer’s engagement history across channels and quickly address the customer’s needs. Consumers can look forward to a fast, efficient service.

In this recipe, we’ll walk through integrating Segment’s Profile API with Twilio Flex, and also provide you with a template that you can further customize according to your business needs.

Step 1: Set up your Segment Personas instance

If you are new to Segment, you can request a demo or sign-up for a new workspace.

If you are an existing customer of Segment, login to your workspace, navigate to the Explorer tab in the Personas module. Click on a profile to see the full view of the customer’s Computed Traits, Audience Membership information, Event history, and Identity Graph. All of this data is available via the Profile API, so you can get a sense of the type of information we’ll be able to load into our Flex instance!

Make sure that you take note of the space ID from the Profiles API console; you will need this value later on in the recipe when setting up the Twilio Function.
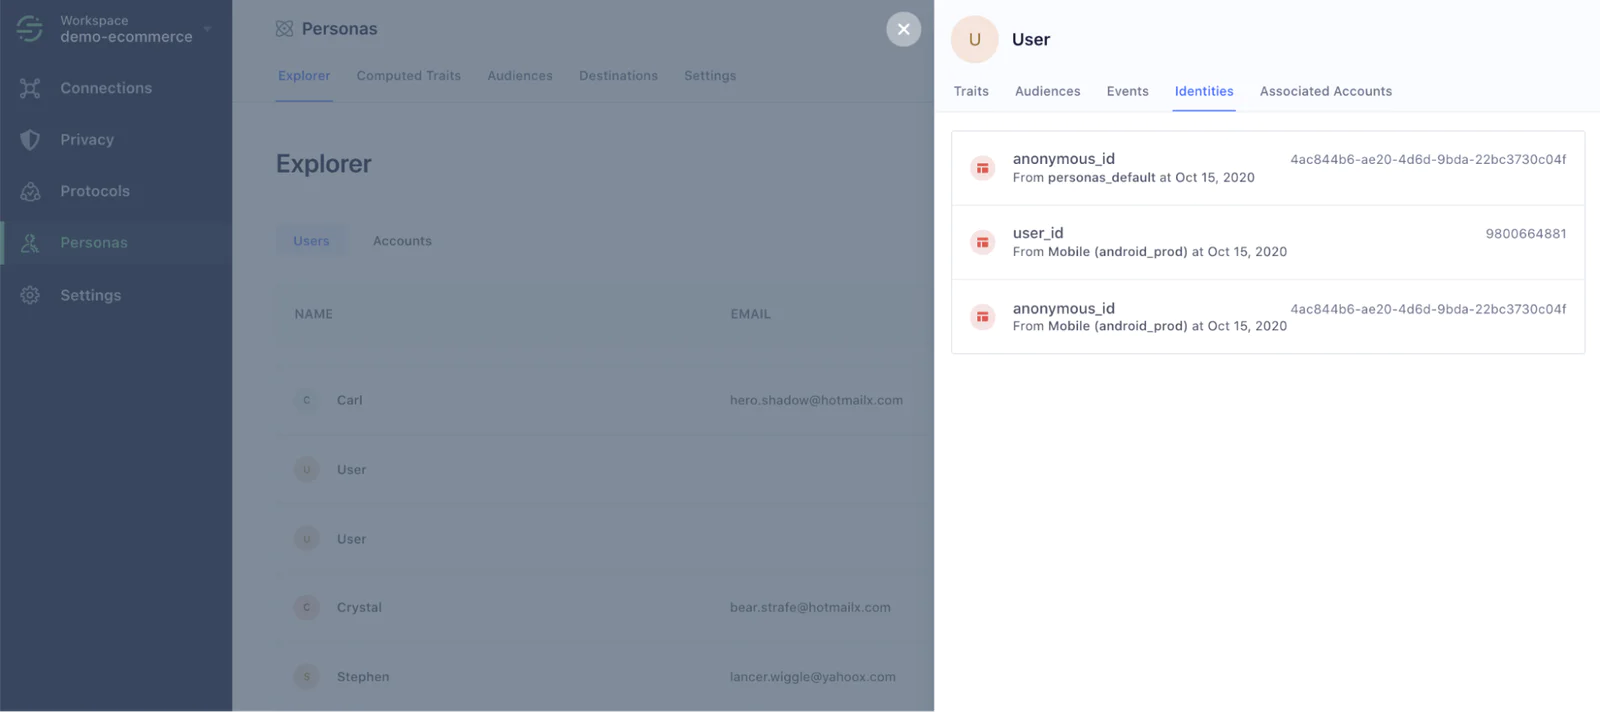
segment personas user profile screenshot

Step 2: Set up your Twilio Flex instance

Next, make sure that you have an instance of Twilio Flex ready to go. You can sign up for a free instance here. The Flex documentation provides a step-by-step guide for setting up a Flex instance if you don’t have one yet.

twilio-flex-instance

Step 3: Create a Twilio Function to call the Segment Profile API

  • Generate a Segment Profile API Token: If you haven’t already, generate an API token for Segment’s Profile API.  Instructions for creating a token can be found here.

  • Set up your Twilio Function: In order to make Personas data available in Flex, we are going to fetch the user data by deploying a Twilio Function. Create a new function and give it a name like `/fetch-data`.

With our Segment Profile API token handy and our Twilio Function environment set up, you’re ready to fetch behavioral data from Segment Personas.

Now edit your `fetch-data` Twilio Function to make the API request. You may simply copy the code below, and edit it according to your needs. Make sure you’ve saved your API token and spaceID as Environment Variables Twilio’s Functions environment.

const axios = require('axios'); exports.handler = function(context, event, callback) { const profile = axios.create({ baseURL: `https://profiles.segment.com/v1/spaces/${context.spaceId}/collections/users/profiles`, auth: { username: context.token, password: '', } }); profile .get(`/email:${event.email}/traits`) .then((response) => { return callback(null, response.data.traits); }) .catch((error) => { console.log(error); return callback(error); }); };

💡 You may also copy the code from a sample code snippet gist or your Twilio function to fetch user data from Segment.

Step 4: Invoke the Function from your Flex environment

Save your Function and hit “deploy all”. Congrats! You have a live Twilio Function. 

Next, you will call it to load data into your Flex Plugin. You may copy and paste the below code into your Flex plugin. Please note that you will need to update the URL on line 10 with the URL from your own Twilio Function. 

You can find the URL for your Twilio Function by clicking the options button and choosing “Copy URL”.

twilio flex get data function
const PLUGIN_NAME = 'PersonasPlugin'; export default class PersonasPlugin extends FlexPlugin { constructor() { super(PLUGIN_NAME); } init(flex, manager) { axios .get('Your-Twilio-Function-URL') .then((response) => { console.log(response); }) .catch((error) => { console.log(error); }); }

💡You may also use this sample code snippet to load user data into your Flex plugin.

Step 5: Surface Customer Data to your Customer Support Agents

At this point, you’ve brought the data from Segment’s User Explorer (that you viewed in Step 1) full circle and into your Twilio Flex Contact Center. With profile data loaded into Flex, contact center agents now have a complete view of the customer available at their fingertips.

Twilio Flex UI with customer events

Agents will now be able to:

  • Quickly identify that the customer hasn’t yet viewed an important piece of documentation, and can seamlessly point them to the right material, in real-time.

  • See the customer’s LTV, purchase history, and intelligently route their request using this information.

  • Understand where customers are stuck in their journey and provide fast, targeted support in response

Wrapping Up

To recap, here’s what we learned to accomplish:

  • Used the Segment Profile API to create a single view of your customer behavior

  • Used Twilio Functions to query customer data in real-time from Segment’s Profile API

  • Built a Flex Plugin to enrich your Cloud Contact Center with real-time customer data

If you are interested in trying this out, feel free to sign up for a Segment account or speak to one of our product specialists by requesting a demo.

Getting started is easy

Start connecting your data with Segment.