Increase product adoption with contextual product announcements

This recipe demonstrates how to announce new features from within your product: how do you target the right users, at the right time and in the right place? Learn how to influence your users to adopt new features with Segment and Chameleon.

Chameleon Made by Chameleon

On this page

In a product-first world, your customers' patience is limited. They want to figure things out on their own without talking to Sales reps or reading lengthy documentation, and you need to focus on shipping valuable new features so that your customers continue to find success. It follows, then, that the best place to communicate updates to active users is inside your product – when they have context and are attentive and motivated.

In this recipe, we’ll walk you through how to use Segment and Chameleon to increase feature adoption with product announcements. We’ll use Segment to track usage and allow you to show an in-product announcement based on who the user is and what they’ve done (or not done.) We use Chameleon in this recipe to create an in-product announcement with your own content, styled to your brand, and in the right place... without any engineering.

Step 1: Ensure event tracking is set up inside your product

The first step is to sign-up or log in to the Segment dashboard. Next, create a Source for your SaaS app. After you set up your Source, it’s time to implement user tracking inside your SaaS app. You can choose to send user data to your Segment account with the Segment Javascript client or a backend library. Check out these docs to learn more about setting up your source. To get the most out of this recipe, you should send an identify call each time a user registers, logs in, or updates their info. After identifying users, you can also track important events. 

We recommend you track the below events to understand what actions users are performing on your site.

1

Step 2: Install Chameleon

Once Segment is installed, Chameleon is easy to install. Create your Chameleon account and from the installation page you can find your unique Segment key to add to your Segment workspace. This doesn't require any engineering or development work. 

chameleon_1
Tip: add Chameleon only to the workspaces associated with where you want to show in-product announcements.

Once Chameleon is installed, three things will happen:

  1. Chameleon will be loaded onto the same pages that Segment is installed on, meaning you can build Experiences from those pages and you can display them to users on those pages.

  2. Chameleon events will be automatically collected and sent to your Segment workspace, and then to other connected destinations. Events include: “Tour started”, “Tour completed”, “Tour exited”, “Button clicked”, “Survey completed” etc. 

  3. All user events and properties, and company (group) properties, being collected via Segment will be sent to Chameleon to help you with targeting. This also includes any Personas data. 

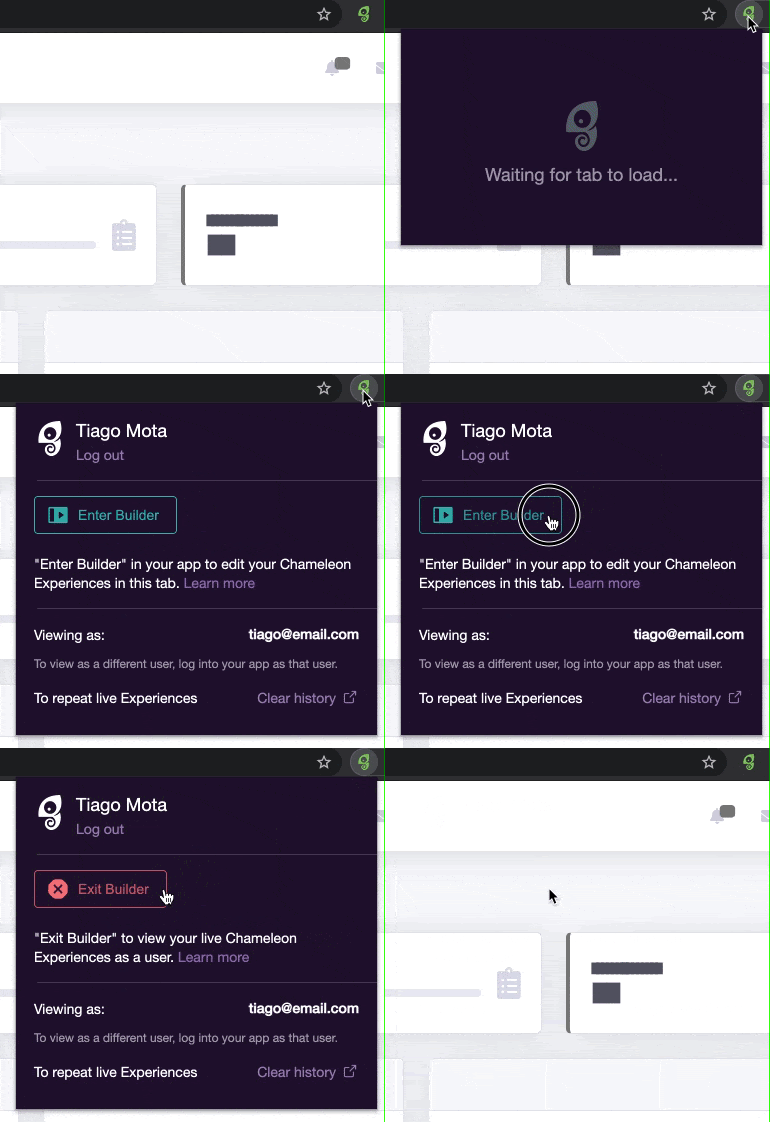
After you’ve installed Chameleon via Segment, you can download the Chameleon Chrome Extension to access the Chameleon Builder.

chameleon_3

Step 3: Create an in-product announcement in Chameleon

Before you start building your in-product announcement, you should consider:

  • What is the goal of this announcement? How will I measure success?

  • What is the most relevant audience for this? What traits identify this audience?

  • When and where in a user journey should I notify the target audience about this?

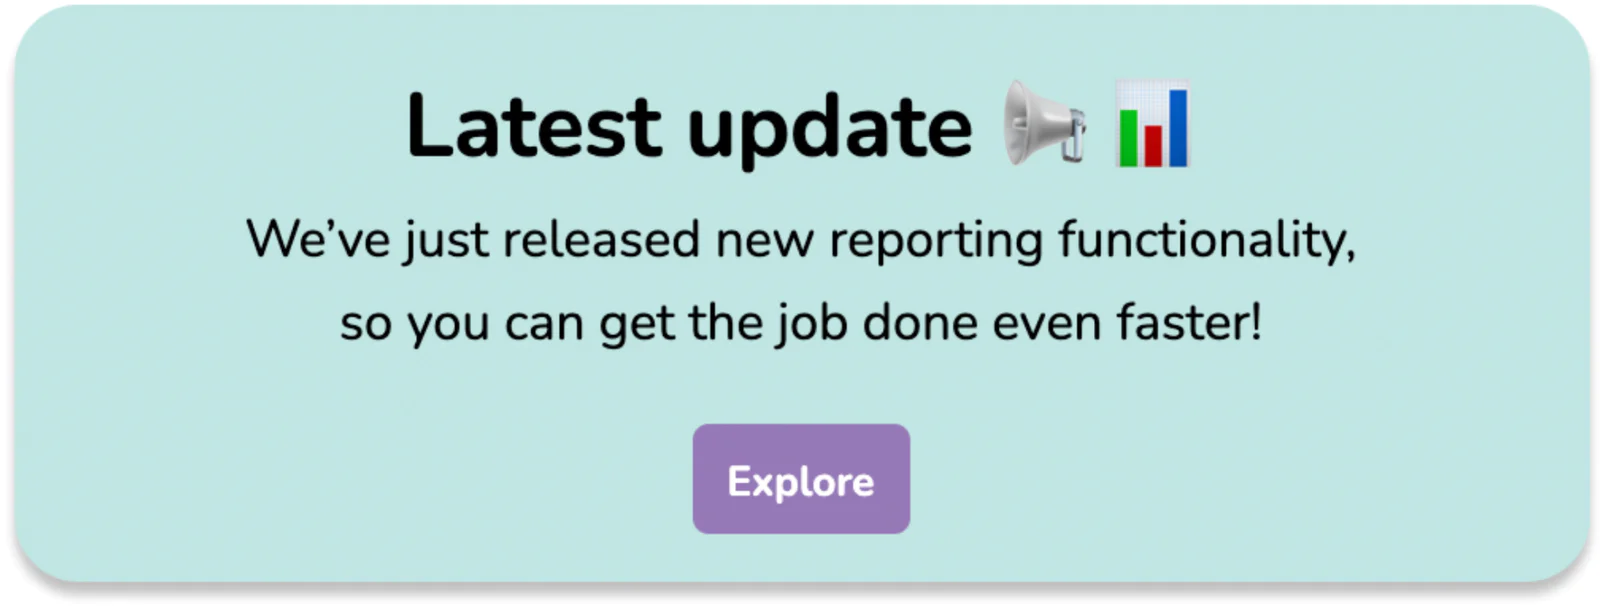
In this recipe, let's imagine your SaaS product has released a new reporting capability, and you want to ensure users discover it. To help with this you’ll leverage Chameleon to create an in-product feature announcement. 

For the design of this announcement, a slide-out pattern on the existing/old reporting page, targeted to users that have either completed onboarding or interacted with the current reports will be more effective than a blanket announcement to all users, or on a dashboard/“Home” page. 

This is because targeting users who will find the most value from it is a healthy practice to avoid user annoyance and a lowering of your engagement rates. Remember, talk to those who you think would be interested in this new feature, rather than a blanket rollout. As a rule of thumb, you should avoid announcements that show to everyone and those that might interrupt key workflows or user intent.

Now it’s time to create your announcement using Chameleon: 

  1. Open the Builder using the Chrome Extension

  2. Visit Tours, and click “New Tour”

  3. Then create a “Step” inside the Tour (we’ll keep this to just a single Step)

  4. You can choose one of the existing Templates, or start with a Blank Canvas

  5. Then you can add your content (e.g. image, text, or CTA) and styling with the simple point-and-click tool

chameleon_4

Once you’ve created the basic design of your announcement, you can set where this announcement should appear by using a combination of “URL Rules” and “Element Rules”:

  • URL Rules allow you to define what the exact or matching URL should be for this Step to show. For example, if you want to only show this Step on www.mydomain.com/user123/reports you can set the URL Rule as “URL contains reports”

  • Element Rules allow you to set what specific content (element) must be present (or absent) on the page for the Step to show. For example, if some users have a module and others do not, you can use this to specify that the relevant module must be present. 

chameleon_5

If you want to first test this Experience in a staging environment, you can add an additional URL condition on the first Step (only), for example, URL contains “staging” (or whatever subdomain represents your staging environment.) Once you’ve created and previewed, and are happy with it, you can go back to the Tour to complete the targeting and get ready to go live.

Step 4: Target the Experience based on user data or Personas attributes

Now that we have our content and placement ready, we can define who this Experience should display to based on the user data sent by Segment to Chameleon. 

In our example above, we want to only show the New Reports announcement to users that have completed their onboarding and are also on the Gold plan (as that feature is only available to that plan level.)

Within Chameleon, we can set the Target Audience to be a combination of two filters, for example:

  1. Filter 1: User event = “setup_completed” has occurred

  2. Filter 2: Company attribute = “plan_current” is “Gold” 

Here we are assuming that an event “setup_completed” is being sent, but this could be replaced by any other event that indicates a user is done with their onboarding stage or has undertaken activity that qualifies them to see this Experience. We are also showing the “plan_current” as a company (group) property but again this will depend on what user/company data you would like to target this feature announcement around. 

Once you’ve set this up, then you can first test this Experience live, either on staging (using the URL rules defined above) or directly in production. To test in production, you can add an additional filter to target only you or your teammates, e.g. “User attribute = “email” contains “yourdomain.com”. This will limit the Experience only showing to users identified with your company’s email address. 

You can then set the Experience live, exit the Builder, log in to your app (with the right data, such as “setup_completed” has happened and “plan_current” is “Gold”) and see your Experience in the wild!

Once you’ve seen and dismissed/completed the Experience you will not see it again by default. If you want to test repeatedly, you can either clear your history from the Chrome Extension, or set the Tour to repeat (e.g. on each page load) to allow you to test multiple times. However when you are ready to deploy to your user base then remove the Recurrence setting. 

Step 5: Measure success in Chameleon or a connected analytics tool

Once you’ve gone live with your Experience you will start to see results and you can measure impact easily. There are multiple ways to see and get data from Chameleon:

  • View results in the Chameleon dashboard

  • Download CSV of all events to analyze 

  • Use our APIs to download data in batch or in real-time

  • Push data to other services via the Segment integration

We recommend you leverage an event analytics tool such as MixpanelAmplitude, or Heap, for your product analytics data broadly, and combine your Chameleon data with this. 

The benefit of this is that you get a holistic view of product success and can link interactions users are having with your Chameleon Experiences with their other activity and metrics from within the product and outside. 

For example, you should ideally track a couple of events around adoption of this new feature; maybe something to indicate discovery (could be a page load for that feature homepage, or a click into a key CTA) and then retention (is that feature used on a recurring basis?)

Then in your analytics tool, you can create some charts to assess performance:

  • Funnel analysis: to compare users where “Step seen” occurred (for this announcement Experience) followed by the activation event, compared to where “Step seen” did not occur. This will indicate the impact of users seeing the announcement and then completing the feature activation.

  • Retention analysis: you can compare feature retention between users who saw the Chameleon Experience vs. those who didn’t.

It’s also possible to run more sophisticated control group tests with Chameleon where you randomly sample a proportion of the target audience, and Chameleon sends “Experiment” events to help you run comparative analysis. Read more about that here

Wrapping up

Here’s what we’ve done in this growth recipe:

  • Created customized in-product announcements that trigger on set pages

  • Launched in-product announcements to the right users

  • Measured the impact of in-product feature announcements on retention

You can learn more about using Chameleon and Segment here.

Getting started is easy

Start connecting your data with Segment.