Engage new signups with a personalized welcome email

With this recipe, you’ll learn how to send automated and personalized welcome emails to ensure new users are set up for success.

Segment Made by Segment

What do you need?

  • Javascript or Mobile source which tracks customer activity

  • A email marketing tool - we're using customer.io in this recipe

Engage new signups with a personalized welcome email

With a huge integration catalog and plenty of no-code features, Segment provides easy-to-maintain capability to your teams with minimal engineering effort. Great data doesn't have to be hard work!

On this page

We live in a word where 21% of users abandon an app after one use. Users sign up, kick the tires, and promptly leave.

So whether your an early-stage startup or a Fortune 500 company, you’re business is likely faced with the same challenge:

How do you keep new signups engaged during their first interactions with your product or service, and convert them into a loyal lifetime user?

To solve this, you must hook new users by getting them to get a valuable action early on, whether that’s inviting a friend or teammate or adding a product to their shopping list.

By getting new signups to these milestones, they’re much more likely to stick around and become long-term, happy customers.

Note: If you’re looking to uncover what your product’s “hooks” are, read this blog post – https://segment.com/blog/customer-retention/

For example, at Segment, the first action that heavily correlates with the successful adoption of the product is when a user starts sending data into Segment.

So we send a personalized welcome email to nudge users towards that action.

segment welcome email

A variation of this welcome email that has gone to every new Segment user since 2014, 43 minutes after they sign up.

In this recipe, you’ll learn how to send automated and personalized welcome emails just like this to ensure new users are set up for success.

Step 1: Add your email destination

This recipe assumes you have Segment installed, and that you’re tracking events. If not, check out our documentation here.

The first step is to ensure the data you’re tracking with Segment is flowing to your email tool of choice (we’re using customer.io in this example)

  1. From your Segment Destinations page, click on “Add Destination”.

  2. Search for “Customer.io” within the Destinations Catalog and confirm you’d like to connect.

  3. Drop in your Customer.io `API Key` and `Site ID`, which you can retrieve from Settings > API Credentials in Customer.io, into the Segment UI Settings.

Step 2: Create your segment of new signups

Now it’s time to create a “segment” based on the “user_signup” event.

  1. In customer.io, go to Segments → Create a data-driven segment

  2. Ensure the segment is created with the attribute “user_signup”, equal to true.

This gives you a basic segment of all users who have signed up in the last 30 days.

basic segment of all users who have signed up in the last 30 days

A basic segment for welcoming new signups.

Now that you’re familiar with the basics, you can layer on the complexity.

Let’s say you're an outdoor clothing manufacturer, and you want to send a welcome email to people who live in Canada (where it’s cold all the time) but who haven’t bought a jacket yet.

Our segment will look like this.

outdoor clothing manufacturer segment

There are limitless ways to create your audience depending on the event data you’re tracking via Segment.

Step 3: Build your campaign

You can add a degree of audience sophistication by using conditional triggers. Ask yourself, "What are the triggers that should make someone enter or exit a campaign?"

For example, you may want to focus your campaign on all new signups, but within that bracket, you may want to exclude specific cohorts or signups (partners, VIP, or enterprise customers) from your email.

  1. In your customer.io dashboard, go to Campaigns > Create New Campaign > Trigger.

  2. Select the conditions under which someone will enter your campaign.

Build your campaign

An example of triggers within our own Customer.io workspace.

Step 4: Choose your time window

Now that we’ve decided who enters our campaigns, it’s time to decide when.

  1. Head to the “Workflow” tab in the customer.io dashboard.

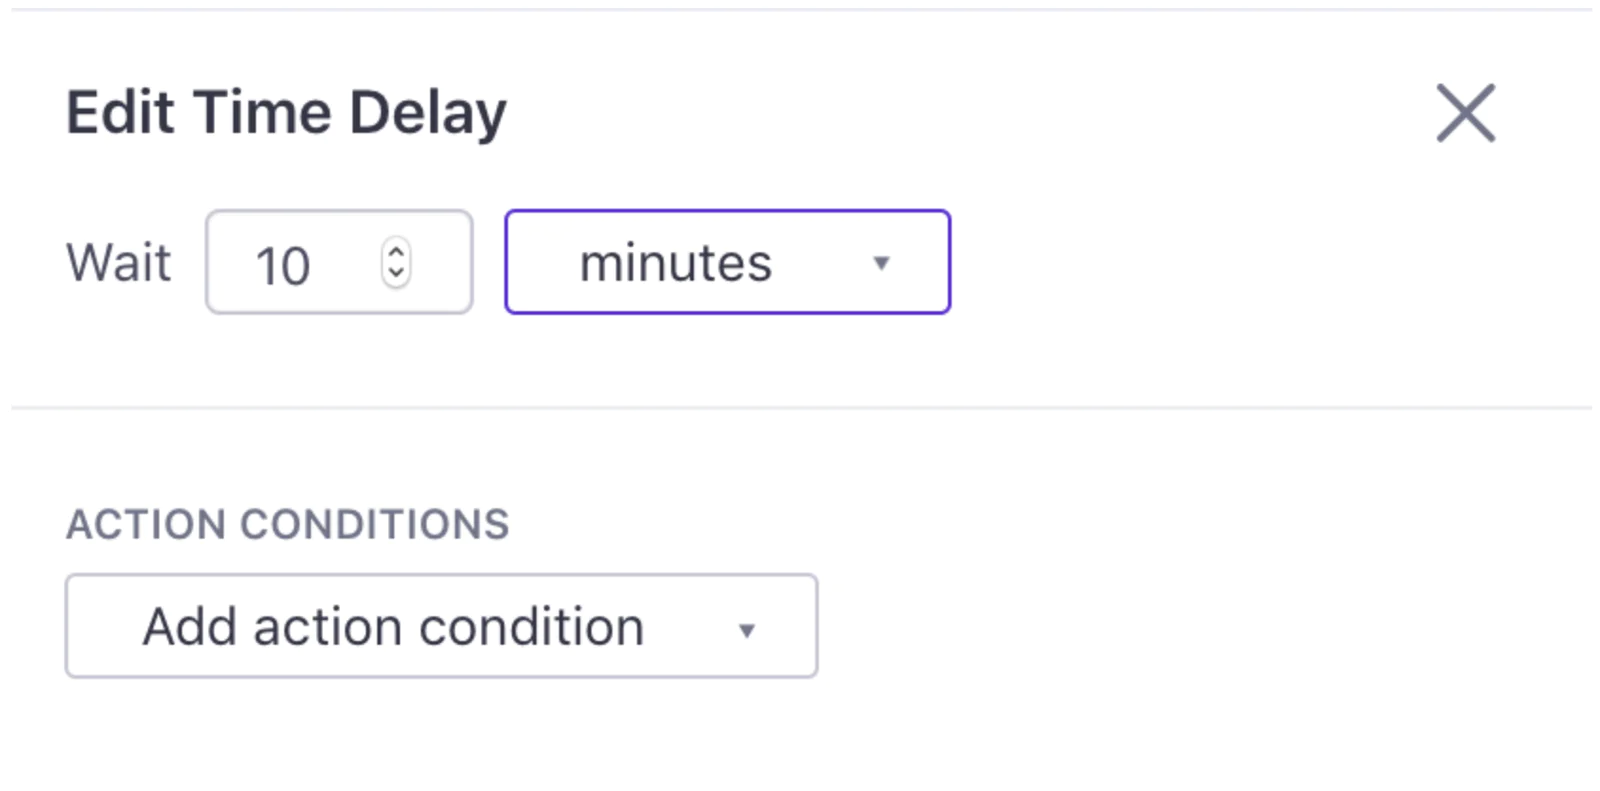
  2. To ensure your message is delivered within a specific time range, select a “time delay” of your preference.

  3. Avoid sending the email immediately, or at other standard intervals such as 1 hour or 1 day. We like to use a non-standard interval (43 minutes) so it feels organic.

Choose your time window

Step 5: Write your welcome email

Time to start writing.

While there are some basic tenets of a good welcome email - warm, friendly, concise - perhaps the most important part is motivating new signups to take a concrete action that deepens their experience with your product.

At Segment, the first step to deepening that relationship is when a user starts sending data into Segment. When someone takes that action, it’s a good indicator they’ll stick around longer than those who don’t.

So we center our welcome email around getting new signups to take that step.

segment welcome email

You may be tempted to include a lot of information in this email, but one clear desired outcome with one primary CTA (with maybe one or two secondary CTAs) is key to success.

A welcome email is an excellent opportunity to clarify but also to confuse, so try your best to keep it simple.

Step 6: Send, test, and measure

Once you've created your welcome email you'll want to be sure to test before setting your campaign to active. Hit "Send test" in the customer.io dashboard.

Once you’ve verified everything looks accurate, set your campaign live. Your welcome email will start delivering to new signups once they’ve met the conditions you’ve set.

One the message has started to deliver, it’s essential to monitor performance and ensure your welcome email has the desired reaction.

The important thing to measure here isn’t open and click through rates, but conversions. In our case, we want to measure how many users went on to set up a source after reading our welcome email. If you see that nobody is taking the desired action, you may want to revisit your email copy, and try something different.

Wrapping up

Here’s what we’ve achieved with this recipe:

  • Send customer data from your website or mobile app into your email marketing tool of choice.

  • Personalize your welcome email with customer data that deepens the customer relationship.

  • Built email campaigns to welcome new users and set them up for success.

Getting started is easy

Start connecting your data with Segment.