Sending data to a non-HIPAA compliant or non-BAA destination

In this recipe, you’ll learn how to use Functions to send data to Destinations that may not be able to receive Patient Health Information (PHI). This recipe can be used by customers in any domain (not just healthcare) who may require minimum data privacy and security practices for patient or end user information.

Atit Shah Made by Atit Shah

On this page

This recipe uses features that are available as add-ons to your Segment plan. Contact us to learn more about what plan is best for you.  

In a recent study by CVS Health, 62% of U.S. consumers say they are either somewhat likely or very likely to use a virtual visit if they don’t need a physical examination. As digitalization of healthcare rises rapidly, so will the need to secure and protect PHI. It will therefore be important for U.S. healthcare customers to ensure they partner with vendors who comply with HIPAA. But, what if the vendor technology is still critical and not HIPAA compliant? 

Segment’s Functions can help you handle these issues. Destination Functions help you take events from a Segment source, transform the events, and deliver them to external APIs or destinations. For the purposes of this recipe, let's assume you do not have a BAA with Mixpanel and are required to remove or encrypt PHI (or other PII) from the data forwarded to them. 

Please note that this recipe merely provides suggestions and examples for the use of Segment.  It should not be taken or used as either clinical or legal advice, whether about patient care or the security and protection of PHI.
You should consult your legal, security and/or clinical experts as needed before implementing solutions for any new use cases.

Step 1: Connect your website to Segment

The first step is to implement Segment in your website so you can learn how your patients' use your app or website.

  1. Create a Source in Segment to collect data as your patients use your website. 

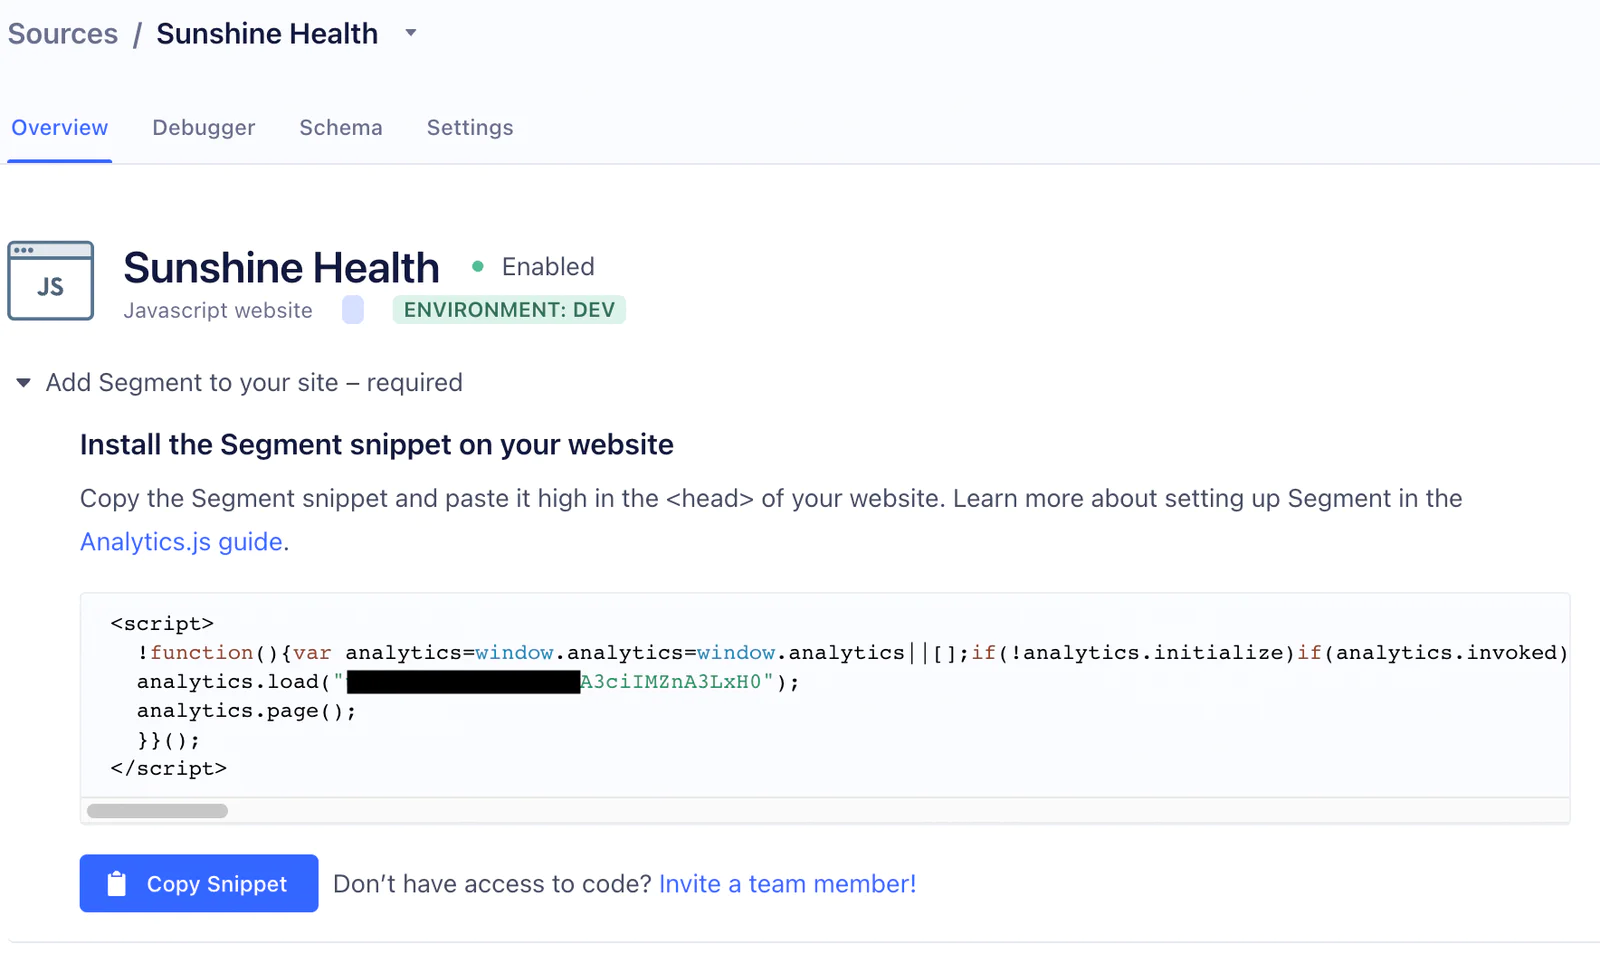
  2. Install the Segment snippet on your website. Copy and paste the snippet from the overview page into the <head> tag of your site. 


hls1


Note: Sunshine Health is a fictitious name and bears no resemblance to any customer or company.

3. Implement events. Define the events, and their properties, you want to trigger when a patient takes an action. For example, an event can be “Provider Search” with patient demographics (name, email, patient id), or “Speciality” and “Location” as properties.


hls2


Step 2: Setting up a Destination Function

Note: your workspace should be enabled for Functions.
  1. From the left navigation bar, click on Connections, click on Catalog, from the top navigation bar click on Functions, click on “New Function”.


hls3


2. In this recipe we are writing a Destination Function to remove and obfuscate data before sending to a Destination, we will therefore select Destination and click Build.


hls4


3. In this recipe we are working with Track events, we will therefore write our custom code under the onTrack() method to:

  1. Remove PHI, including first and last name

  2. Hash the email address- we will do this using crypto from Node.JS. (Note: this is an example only. Segment supports the following dependencies. You can use your choice of APIs for implementing encryption per your requirements.)

async function onTrack(event, settings) {
  // Learn more at https://segment.com/docs/connections/spec/track/
  const endpoint = 'https://api.mixpanel.com/track'; // replace with your endpoint
  
  let response;
  var buffer = [];
  
  try {
    (event.properties.projectId = settings.projectId),
    (event.properties.token = settings.token),
    (event.properties.distinct_id = event.properties.userId),
    (event.properties.email = crypto
      .createHmac(settings.algorithm, settings.secret)
      .update(event.properties.email)
    .digest(settings.digest));
    
    delete event.properties.firstname,
    delete event.properties.lastname,
    buffer.push(event),
    (response = await fetch(endpoint, {
      method: 'POST',
      headers: {
        'Content-Type': 'application/json',
        Accept: 'text/plain'
      },
      body: JSON.stringify(buffer)
    }));
  } catch (error) {
    // Retry on connection error
    throw new RetryError(error.message);
  }


4. Line 21 shows how you can use the crypto dependency module

  1. Create setting and secret shows how you can pass configurable variables and sensitive information for use in your function


hls5


5. When done, click on Configure.

6. Give your Function a Name, optional Description, and Logo and then click Create Function.

Step 3: Forwarding data to Destination Function

Now that we have our Source and Destination function setup, it’s time to connect the two, so that data from the source is sent to the destination via the Destination Function.

  1. From the left navigation bar click on Connections, click on Sources
  2. Select your source created in Step 1
  3. Click on Add Destination, click on Functions
  4. Select the Destination Function created in Step 2
  5. Click on Connect Destination
  6. Configure values to all the settings variables defined at the time of creating the Destination Function


hls6

7. Enable the destination, by sliding the toggle o

Now all events from the source will be sent to the destination function. The destination function will work on all the track events to remove first name, last name, and hash the email before forwarding it to Mixpanel.


hls7


Wrapping up

As a recap, here’s what we’ve done in this recipe:

  1. Implemented event tracking to track user behavior on our website.

  2. Created a Destination Function to remove or encrypt data before forwarding to a Destination that is not HIPAA compliant.

Are you ready to integrate Segment with all your Destinations? Get in touch with a member of the team or start building today!

Getting started is easy

Start connecting your data with Segment.