How to Send Personalized SMS Using Twilio Segment & Twilio
Learn how to use Segment and Twilio Programmable Messaging to send a personalized SMS campaign.
Learn how to use Segment and Twilio Programmable Messaging to send a personalized SMS campaign.

SMS is one of the most powerful engagement channels in a developer’s toolkit. Yet for consumers, it’s also one of the easiest to ignore.
Every day, thousands of spammy, poorly targeted messages are blasted out to consumers using legacy communications technology. These tools can’t reference basic user attributes like name, location, and activity right, let alone add the required personalization drive open rates and engagement.

Thankfully, the technology today is WAY more sophisticated than it used to be, so this type of attritional marketing doesn’t have to be the norm.
Customer data platforms like Segment helps you collect clean, accurate customer data to build upon. You can understand who your users are, what geo they’re in, what actions (if any) they’ve taken with your brand, and what their preferences are.
What’s more, it’s easy to have all that data stitched together in one profile. By using and combining these data points, you can create SMS marketing campaigns hyper-personalized to the behavior of the recipient, and therefore more likely to be effective.
In this tutorial, we’ll walk through how to use Segment and Twilio Programmable Messaging to send a personalized SMS campaign.
Let’s say you’re an e-commerce business and would like to send personalized SMS messages based on a user’s prior website activity.
This is where Segment comes in. By instrumenting Segment on your website, you can implement event tracking to understand your website visitor’s behavior, whether that’s clicking on promotions, viewing products, completing an order, etc.
To do this, simply sign up or log in to your Segment account.
Next, create a Source to collect data on your e-commerce website. A Source is where actions taken by customers such as Product Viewed and Order Completed are collected as “events” and sent to Segment. Since you’re tracking website behavior, you’ll want to start with a Javascript source. Click Add Source and give the source a name e.g segment-store.com
Once you’ve connected your source, you’ll want to install the Segment snippet on your website. This snippet means that your website can easily call the Segment APIs when a visitor takes a certain action. Simply copy and paste the snippet from the JavaScript Source overview page into the <head> tag of your site.

👉 Check out these docs to learn more about setting up your source.
After you set up your Source, you’ll begin to implement events. Events are actions such as page views or button clicks performed by your users on your website. A good comprehensive list of what e-commerce events you can track can be found in our e-commerce spec.

If you want to check if your data is flowing correctly, head on over to the Debugger to see the data flowing in real-time.

Once you’ve set up event tracking with Segment, it’s time to connect to Twilio's APIs to send your personalized SMS notification
In order to do so, we have to create a “destination” for Twilio. Destinations are where you want your route customer data to once it’s been collected.

Segment’s official Twilio destination is in the works, so in the meantime, we can use Segment Functions to build a seamless integration.
Functions is a hosted service offered by Segment that allows you to build a custom source to ingest data from anywhere into Segment or build a custom destination to send data you're collecting on segment into any third-party API endpoint by just writing a few lines of JavaScript.

For the purpose of this tutorial, let’s use the Twilio function template, which makes it even easier for you to get started.

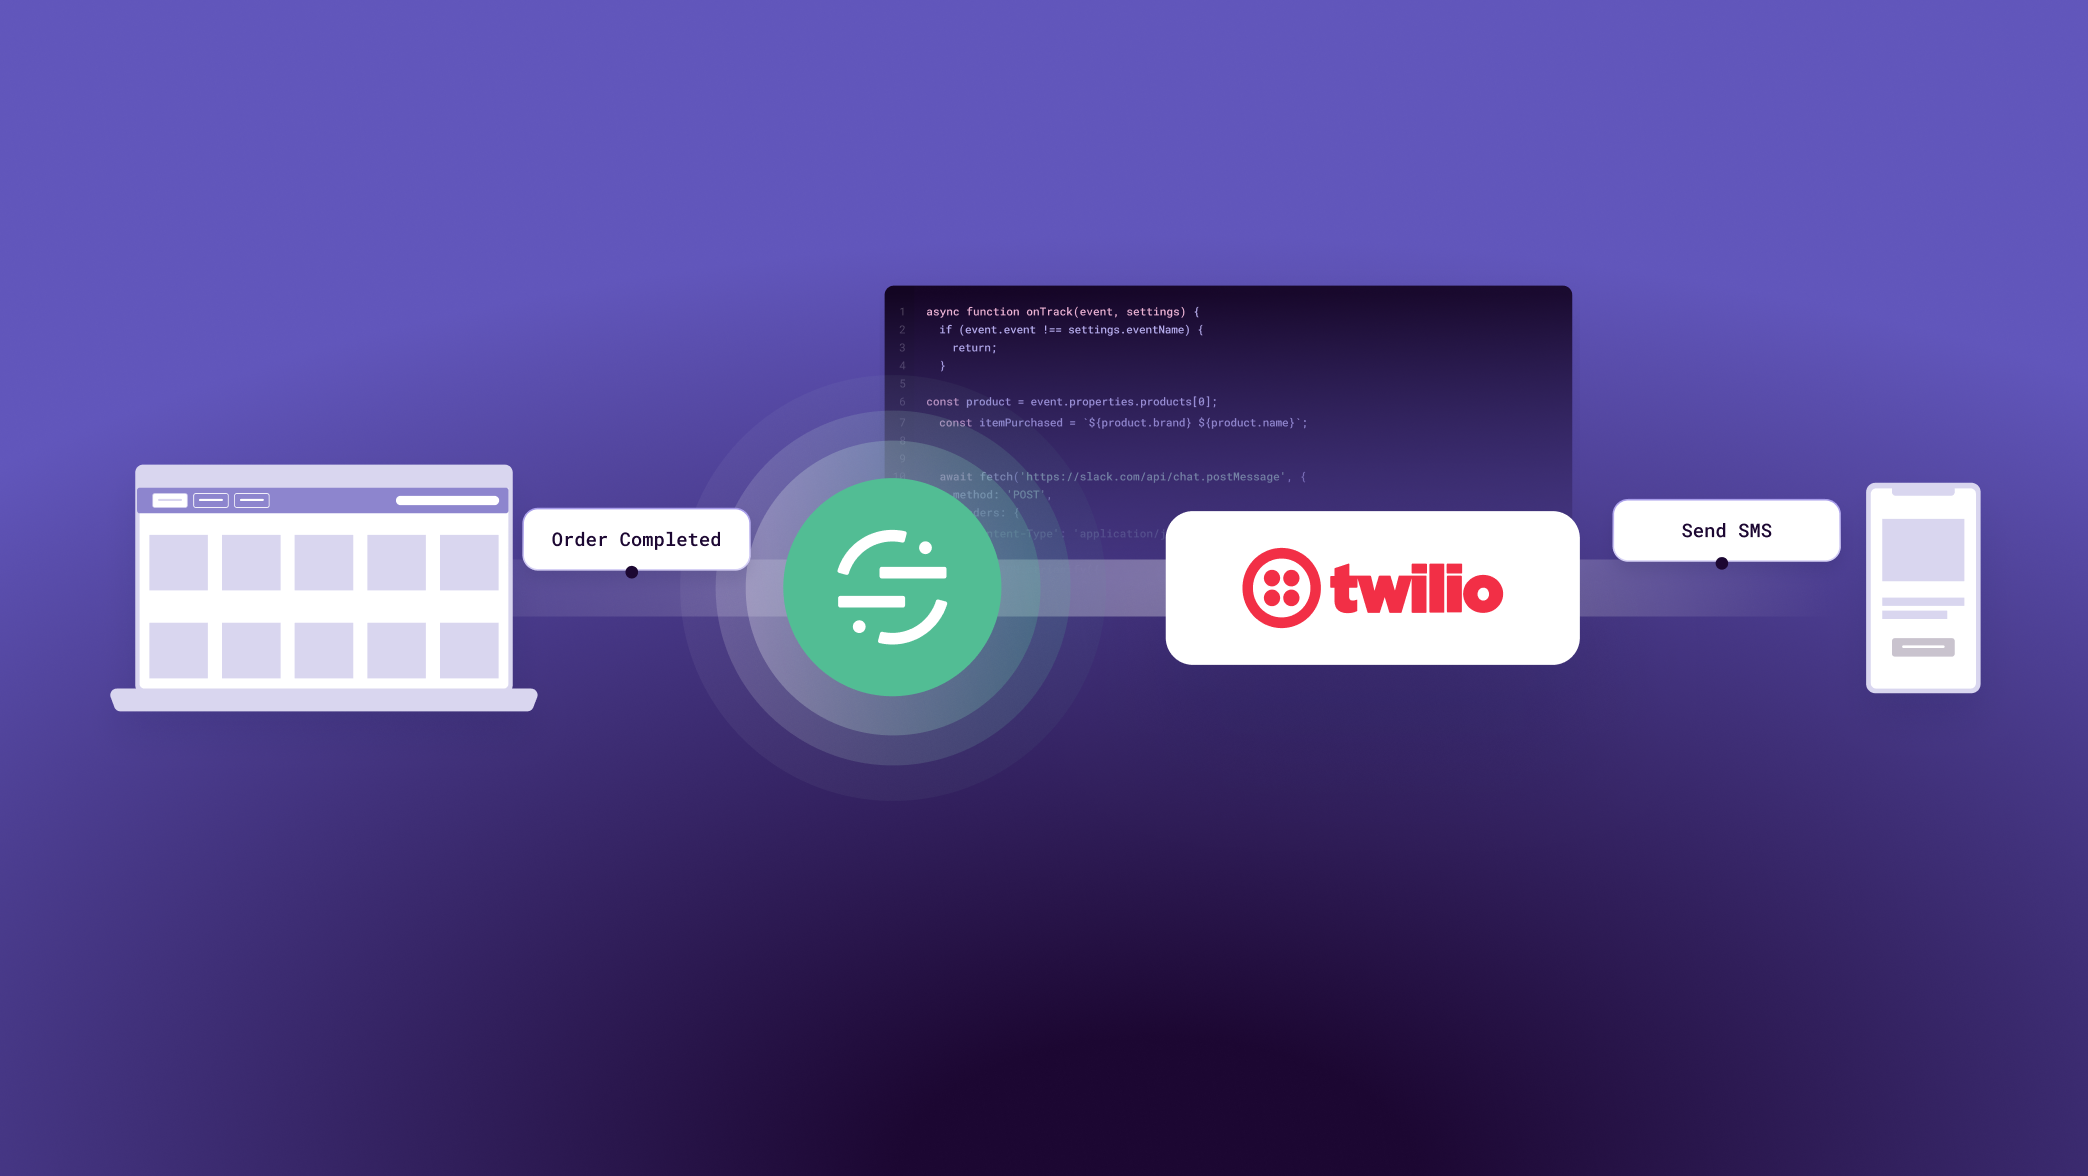
This template does four things:
listens to each and every event that's coming from Segment
infers the item purchased by looking at the Order Completed properties
stitches together a personalized SMS message
calls the Twilio API endpoint to send the SMS notification to customers
💡 Bonus tip: If you’d like to use the code we are using in this recipe, check it out here.
We can test this out in practice by using a sample event.
On the right-hand side of the screen, click Use Sample Event. Then, select the data source you set up for your e-commerce website, and the specific event that you’d like to trigger the message such as Order Completed. Click Save Event. This will bring you back to the Functions homepage, where you can see the event and associated properties in the Payload section of the screen.

Simply add your Twilio account ID, auth token, from and to numbers to the right-hand side of your screen, as well as your Event Name that will trigger the message (in this case Order Completed).

It’s time to deploy!
Hit Run and you’ll see a success message appear confirming that the API call is being made to Twilio and that an SMS is being made. You can log in to the Twilio Console to confirm the SMS has been sent.

As a recap, here’s what we’ve done in this recipe:
Created a Segment source and implemented event tracking to understand user behavior on our website
Connected the Segment source with Twilio via Functions
Triggered personalized SMS via Twilio Programmable SMS
You’re ready to enjoy all the benefits that come from personalized SMS – better open rates, increase engagement, and a better customer experience.
Want to implement personalized SMS for your own business? Get in touch with a member of the team or start building today.

Our annual look at how attitudes, preferences, and experiences with personalization have evolved over the past year.